I decided to replace the Pajero NW engine coolant temperature sensor to eliminate the possibility that the engine temperature coolant sensor was the cause of a coolant temperature fluctuation. The issued had started to occur in the Pajero after the Water Pump and Radiator had been replaced by NatRad. The coolant sensor I suspect would most likely not be the cause of the fluctuations as there was no issue before the replacement of the radiator.
Note: This guide was written for my Mitsubishi Pajero NW with the 3.2 liter Diesel 4M4 engine. It should also be relevant for other Mitsubishi Pajero NW , NM , NS and NX Models with the Diesel 4M4 engine.
This guide is part of a series associated with the changing of the Engine Coolant on a Mitsubishi Pajero and replacing various components related to the Engine Coolant / Radiator system.
[ Mitsubishi Pajero Radiator Support Insulators ]
The Pajero had at this point has done about 145k off-road travelling Kms and is 8 years old.
I replaced the sensor while doing an engine coolant change so there was no coolant in the engine to be worried about. If you have not drained the engine coolant then drain the coolant first. If you do not wish to drain the coolant fully then remove the radiator cap before removing the sensor. Remember Engine Coolant is toxic and poisonous. Catch and dispose of any coolant correctly when removing the sensor.
Tools/Parts Required
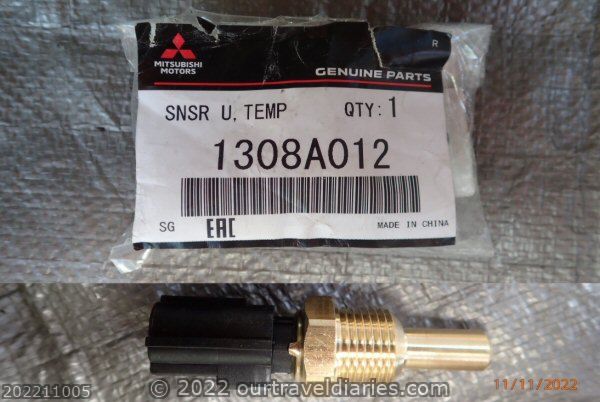
Engine coolant temperature sensor (Mitsubishi Part Number 1308A012 or aftermarket equivalent)
Blade Screw Driver
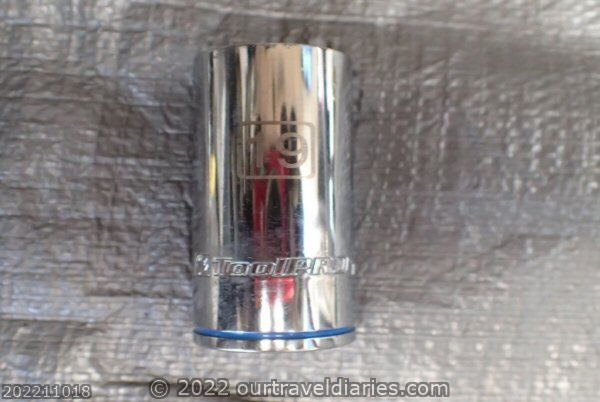
19mm Deep Socket
A Breaker Bar or Socket Wrench
Step One – Remove the engine cover.
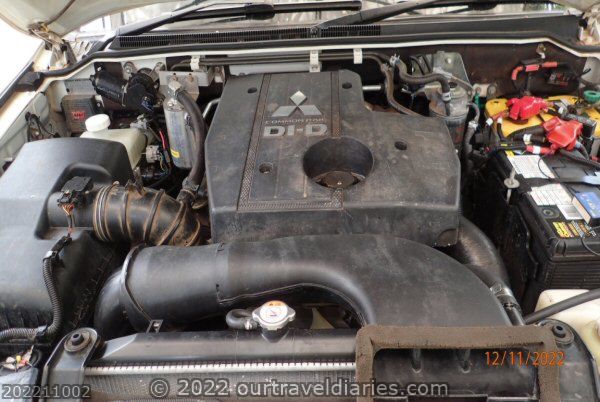
To gain easier access to the sensor the engine cover needs to be removed. This is a simple operation; undo the bolts holding the engine cover to the top of the engine and remove the cover.
- Engine cover of the Mitsubishi Pajero NW 4M4
My Pajero only had three bolts holding down the engine cover so am not sure if there should be three or four bolts and one of the bolts has been lost at a service performed by my local Mitsubishi dealer.
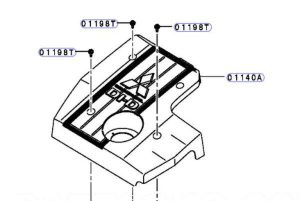
Pictures of Mitsubishi Pajero NW 4M4 diesel engine cover found on the internet suggest that there may only be three bolts.
- Engine cover from parts manual
- Engine cover bolts
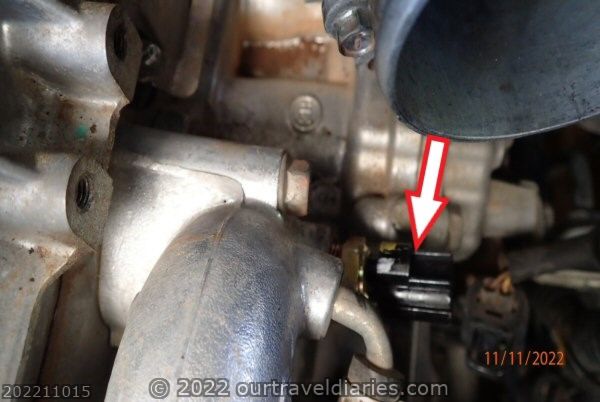
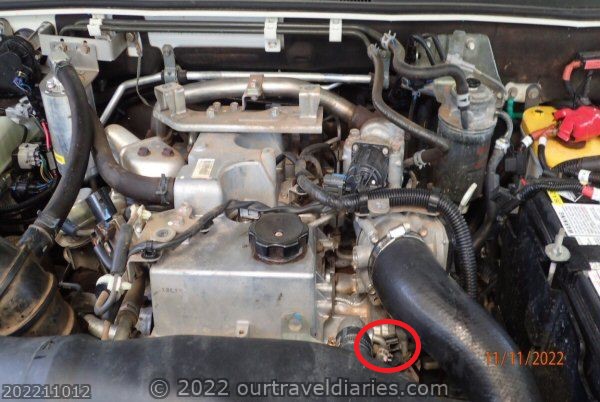
The Mitsubishi Pajero Temperature Sensor for the 4M4 Diesel is located on the right side of the engine below the coolant outlet housing. Locate the top Radiator Hose and follow it towards the engine. The top radiator hose attaches to the engine coolant outlet housing and just below that is the Pajero’s Engine Coolant Temperature Sensor. This sensor is what we are going to replace with Engine coolant temperature sensor (Mitsubishi Part Number 1308A012).
- coolant temperature sensor is located in the coolant outlet housing
Step Two – Remove the Intercooler outlet hose.
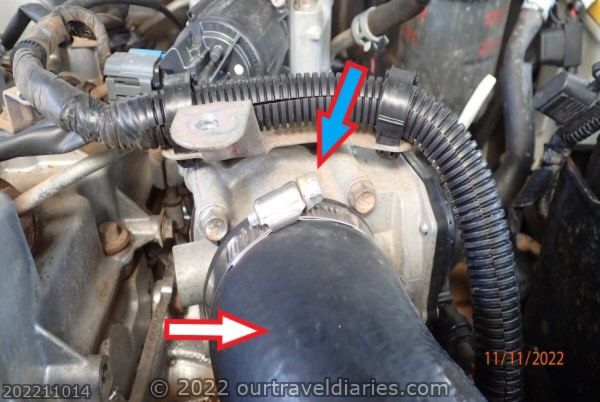
The intercooler outlet hose (White arrow) has to be removed to allow access to the coolant temperature sensor. Using a suitable sized screw driver loosen of the hose clip (Blue arrow) of the Pajero’s intercooler hose and then gently pull the hose towards the front of the Pajero’s engine bay. Only the top of the hose needs to be removed.
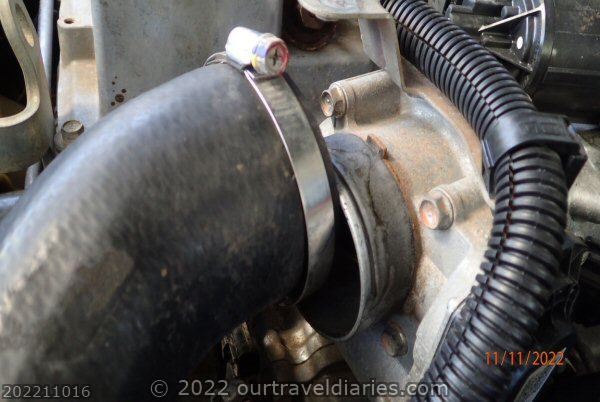
Lever the intercooler hose out of the way. It does not need to be moved by much just enough so that a socket wrench can get into unloosen the sensor.
- Disconnect the top of the intercooler hose
Step Three – Remove the Pajero engine coolant temperature sensor.
The coolant temperature sensor sits just below the engine Radiator outlet housing (White arrow) and can now be more easily seen once the intercooler hose has been repositioned out of the way.
- Location of the Pajero engine coolant temperature sensor
Mitsubishi recommends the use of special tool MB992042 “Water temperature sensor wrench” to remove the temperature sensor.
- Mitsubishi MB992042 “Water temperature sensor wrench”
This is not required as a 19mm Deep Socket is able to undo the temperature sensor.
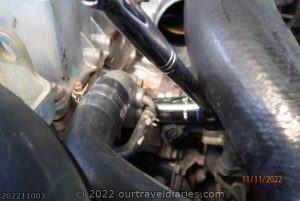
- 19mm Deep Socket to remove the sensor
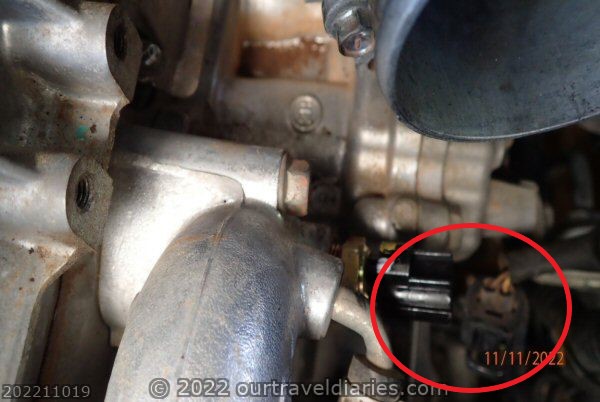
First off, unclip the electric wire connection to the coolant temperature sensor
- Unclip the engine coolant temperature sensor wires
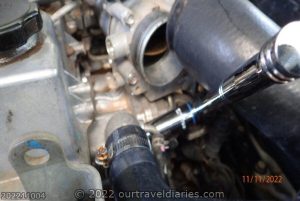
Then carefully place the deep socket over the temperature sensor, loosen and remove the sensor. I found that the coolant sensor was very tight and did require a bit of effort to remove. The difficulty in removing the temperature sensor is probably from the high strength loctite that Mitsubishi used on the sensor.
- Remove engine coolant temperature sensor
- Remove engine coolant temperature sensor
Step Four – Insert the new engine coolant temperature sensor.
I chose to replace the sensor with the genuine Mitsubishi 1308A012. This part was brought from Partsouq as it was far cheaper than buying it from a Mitsubishi dealership.
- Mitsubishi Sensor Part Number 1308A012
Next before installing the sensor add loctite to the thread of the coolant temperature sensor.
Mitsubishi recommends Loctite 262 or equivalent whilst I have used Loctite 222. From the research I did on both loctite 222 and 262 they seem to be pretty similar. The only difference I could find is that the Loctite 262 is a medium to high strength while the Loctite 222 is a low strength, thixotropic metharcrylate based thread locking adhesive. The strength is the amount of torque required to break the grip of the thread lock. Both Loctites are suitable for use in the temperature range of -55 degrees Celsius to +150 degrees Celsius
- Recommended Loctite
- Apply Loctite to the Sensor thread.
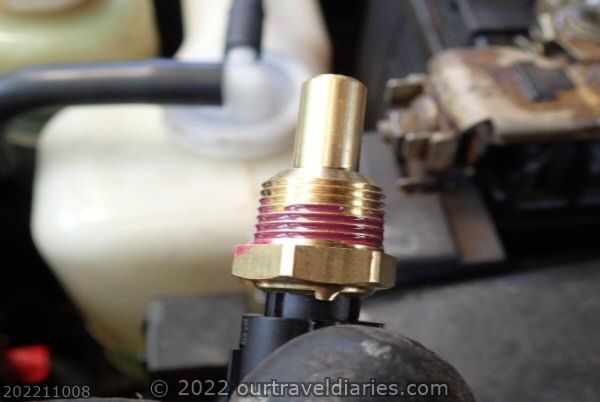
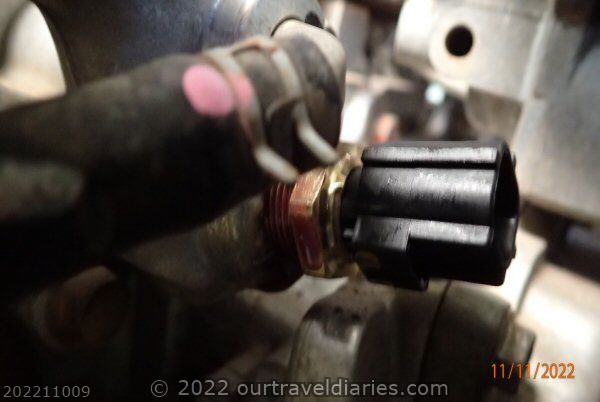
Tighten up the coolant sensor. The coolant temperature sensor did not go all the way in to the lower coolant housing and was very hard to tighten. Use caution when tightening the sensor.
The images showing the engine sensor was taken just before the final tighten of the temperature sensor and show the sensor a couple of turns short of its final place.
- Tighten the coolant sensor
Step Five – Reconnect everything and that’s it job finished.
Reattached the engine coolant temperature sensors wires then attach the Intercooler Hose. Tighten up the clamp that’s the last step to complete the job all done.
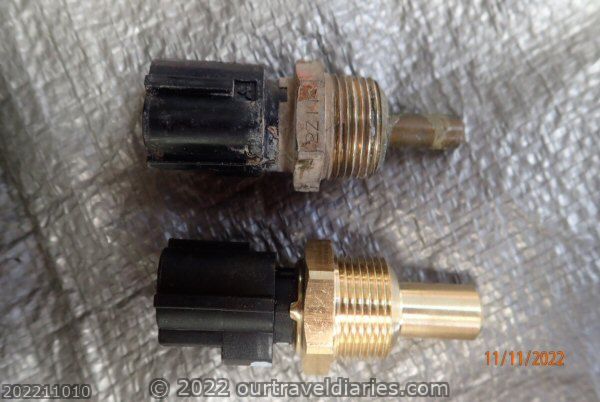
Of Interest: Differences in the Old and New Mitsubishi 1308A012 coolant sensor.
There is a difference between the thickness of the temperature sensors of the old and new sensors. I don’t why this is but I would expect that it does not make any difference in the performance of the coolant temperature sensor
- Difference in Mitsubishi 1308A012 Coolant Sensor
Final Thoughts
I was not expecting the changing of the sensor to make any difference to fixing temperature fluctuation as there was no coolant temperature fluctuation issues before the replacing of the Radiator. As suspected the replacing of the Mitsubishi Pajero 4M4 NW engine coolant temperature sensor did not eliminate the engine coolant temperature fluctuation. As such did not need to be replaced. But least it has removed the possibility that the sensor was faulty and was the cause of the problem.
Views: 5732

