Friday, 9th October 2015
On our last holiday to Alice Springs via the Great Central Road ( formerly the Warburton Road/Gunbarrel Hwy ) we had travelled just 80 kms over the border between Western Australia and The Northern Territory (just past Docker River) on some of the worse corrugation that we had ever been on when we found that the bracket holding the Warn Zeon 10-S Winch Control Box was broken. Damn, disappointed we set about fixing the problem quickly. The temporary fix worked well enough that we were able complete our trip and return back to Perth with only a few checks here and there.
-
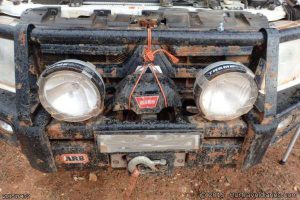
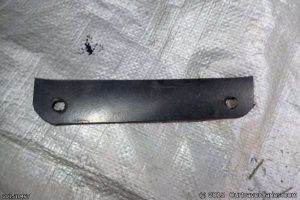
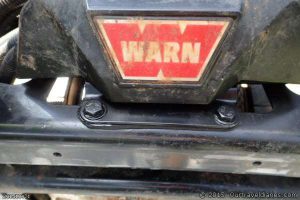
- The temporary fix off the Warn Zeon Winch
I decided that I would replace the warn winch control box bracket, as proven by the trip the current one was just not up to the task. If I just welded the bracket back together it would snap again. So I set about replacing the bracket.
First off I checked to see what brackets were available and decided on Warn’s own Zeon PN 89770 Winch bracket. Why ARB, who installed the bullbar and Zeon 10-S winch, didn’t used this in the first place remains a mystery. I tried to find a supplier in Australia but could not so I checked the internet and settled on Amazon in the US and whilst I could find cheaper prices for the bracket after adding the postage Amazon’s overall cost was cheapest. I got it pretty quick, Impressed.
-
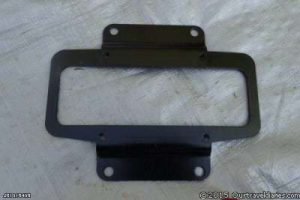
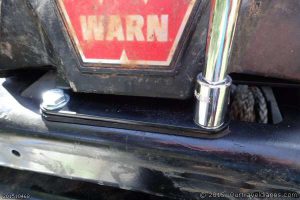
- Warn Zeon PN 89770 Winch bracket
-
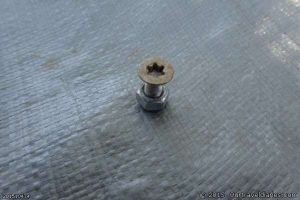
- Using security screws could make bush repairs harder
First off I removed the old bracket and discovered that the winch has been assembled using security screws. It just so happen that my Stanley Socket set had a bit that would fit so no problems were caused. Although? I decided to remove all screws and replace them with normal screws to make it easier to disassemble if I need to in the future especially while on the road. As I was removing one screw the screw’s head broke off. There was lock tight in the thread, possibly permanent lock tight because none of the other screws had lock tight . Maybe this is intentional, anyway after a bit of messing about I ended up drilling the screw out.
No wiring had to be disconnected so that was a bonus.
After taking the old bracket off the new bracket was then fitted to the winch then I did some measuring to find the center of the opening in the bullbar as I needed to drill four holes into the bullbar to line up with the new bracket holes.
-
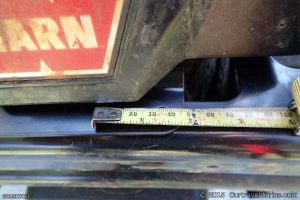
- Find the centre
I used a hole punch to ensure the drill bit did not go all over the place. Then drilled a small pilot hole before drilling the required size hole.
-
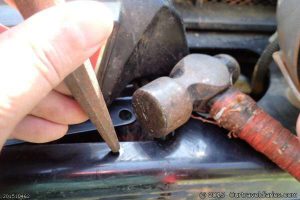
- Used a hole punch to make drilling easier
-

- Ready to drill
-
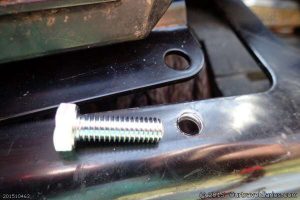
- Hole drilled and the bolt to go in it
-
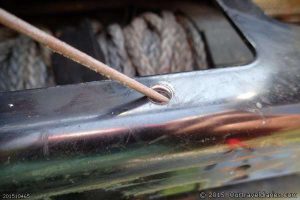
- Make sure to clean up the hole
After drilling the holes I cleaned them up with a file and then painted them to help stop rust. I also opted to put a rubber washer between the bracket and bullbar to try to cushion the winch a bit against future vibration/corrugations.
-

- The four holes have been drilled
-
- Made a rubber washer
Access to tighten up the bolts holding the bracket to the bullbar was difficult so I had to remove the front grill of the Pajero to make it easier, although there still wasn’t a lot of room.
-
- It was hard to get to the nut
-
- Bolted down almost finished
-
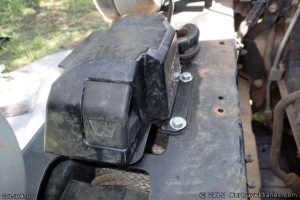
- The back of the winch
-
- Finally finished
A coat of black paint and its done.
I can see now why ARB don’t fit these brackets as default, besides having to drill into the bullbar, access to the nuts to tighten up the bolts is difficult. Although it can be done, I reckon you would be charged a fair bit for the extra work. This took me about 5 hours counting the time taken to extract the snapped screw.
Views: 970